Many clients considering Virtual Reality(VR) often ask about shooting a 360 video for their proposed VR experience. There is a common desire to show a place or share an experience with viewers in an immersive way. Logically, many presume that 360 video is the simplest and best way to do that. In this article, I’d like to discuss the benefits and challenges of using 360 video inside a VR experience.
Understanding 360 Video
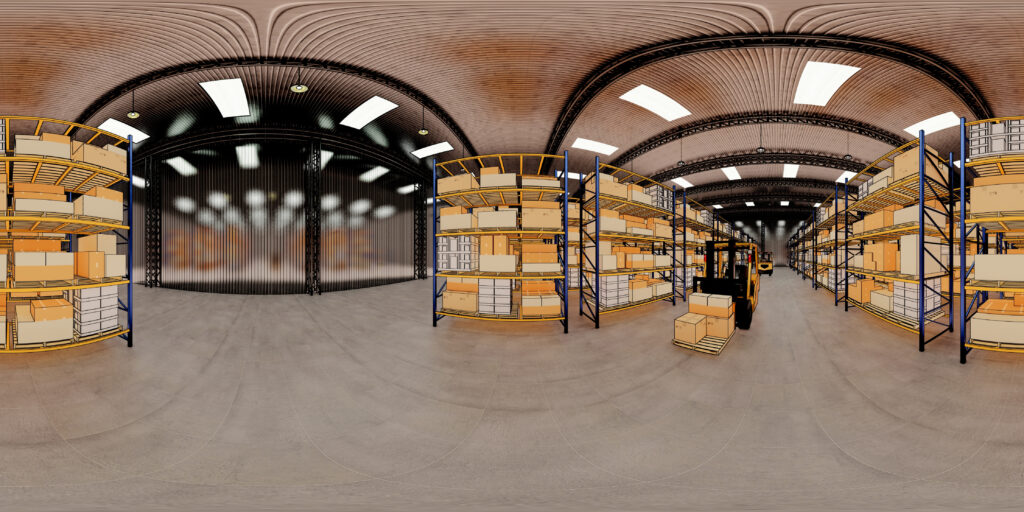
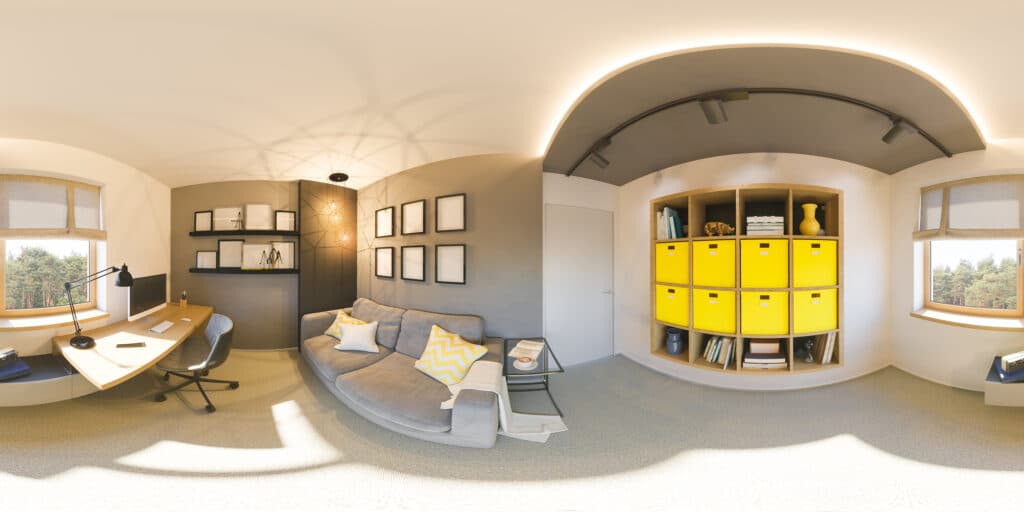
There are a few different ways to create a 360 video but the general result is the same. One or more cameras capture complete, spherical images of everything within its field of view (FOV). The video looks rectangular when viewed on a standard monitor because the monitor is a flat screen. Similar to a globe printed as a flat, paper map. Certain areas on the map (like Greenland) appear distorted near the top and bottom of the image. But in a VR headset, or on a spherical globe, it appears correct. Additionally, all these edges must connect or be “stitched” so that there is a seamless view in all directions.
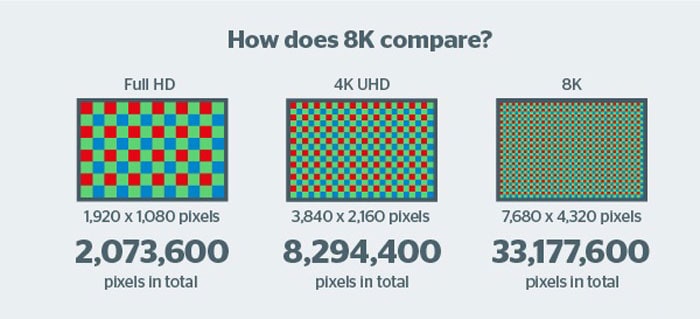
Software typically does an excellent job of managing the stitching and distortion issues but there is a more critical aspect to 360 video that significantly impacts its quality in VR. Resolution describes the number of pixels or “dots” that exist in a certain image. The more pixels, the higher the clarity. Since the images are ultimately captured in a standard, rectangular format, the normal resolutions of 4K, 6K, or 8K can appear stunningly crisp.
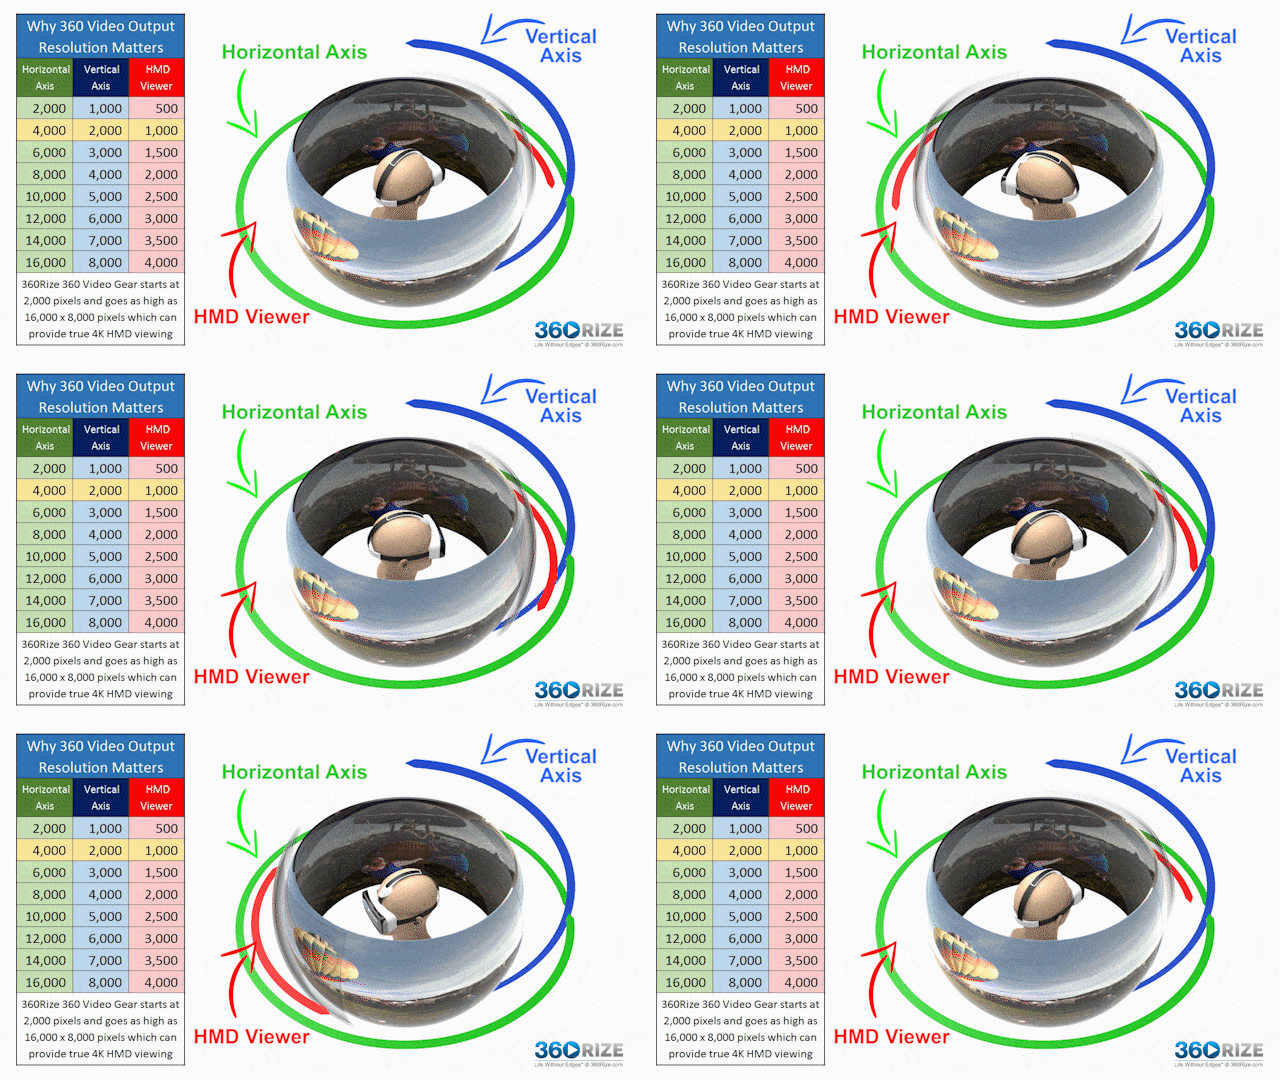
However, when moving from a standard to an immersive viewing platform, like a VR headset, the image is going to be stretched across a viewing area 3-4 times larger. This immediately reduces the effective resolution and makes the picture grainy.
Source: Wondershare
Clarity and Cost of 360 in Virtual Reality
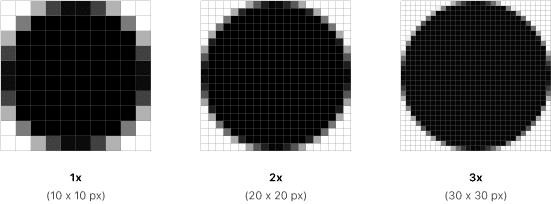
Imagine you have a plate with an intricate design made of colored grains of sand. You can barely see the sand as it all melts together in a beautiful, crisp pattern. Next, you get a plate three times larger along with colored marbles to make the same design. You are able to cover the plate but the clear design is lost. Instead, you see something a bit more “abstract” even though it’s the same design with the same colors. That’s how pixels work. The bigger they are the more you notice each individual pixel rather than a crisp, smooth design. When this ends up centimeters from your eye, the differences can be very noticeable.
The obvious solution is to simply increase the resolution that the video is captured by 300%, right? So, if you want the video to appear in 4K then just shoot it at 12K. Not so fast. Although this does resolve the resolution problem, it introduces even bigger ones: Size and Cost.
For the sake of discussion, let’s assume a 4K 360 video is approximately 1.5 GB per minute of footage. You can see how increasing resolution by doubling or tripling that number would be even more unwieldy even with device storage of 128-256GB. If you can find a camera capable of shooting in 12K, it will be very expensive. Trying to distribute a video file ranging from 15-20GB for just a few minutes of footage can be very problematic especially over a network or WiFi.
Source: Prototypr
Interactivity and Motion of 360 in Virtual Reality
One of the major benefits of Virtual Reality is the ability to interact and navigate within the digital environment inside the headset. This is mostly or completely lost in a 360 video. The video itself is not interactive or manipulatable. True virtual reality, in my opinion, requires some level of interaction within the scene otherwise it’s basically just a 360 video screen. This isn’t to say there’s no value in that but it is important to understand the distinction.
Another key element of VR is the ability to direct your gaze in any direction at any time. For example, if I’m standing inside a VR stadium, I can choose to look at the tunnel where the team enters or check out the seats where I’d like to have season tickets. Maybe while someone in front of me is talking I would rather watch them up on the jumbotron. The point is, as a VR participant, I get to choose what I look at.
As with all videos, the moving shot dictates where I should be looking. The viewer may want to look in other directions even when I want them to look straight ahead. HOW I shoot the video is as important as what I shoot. For example, shooting a scene that moves slowly and smoothly in one direction will allow the viewer to look around without their view being interrupted. This is like sitting in a car traveling down a road and looking out the window. Alternatively, if that same car is moving from side to side and quickly whipping around corners, the viewer can only look straight ahead and hang on or risk getting nauseous as they lose their gaze.
Source: 360 Rize
360 Video in Virtual Reality – Where & How
Now that I’ve explained the different elements and considerations of using 360 video in a VR experience, let’s discuss when it can work and how to use it.
Tip #1
Shoot a still video. With less movement, there is less distortion. You can capture a “live” scene which will be much clearer and more forgiving since the participant can glance around as they wish.
Tip #2
Shoot the video at eye level in a smooth, slow single direction on a film dolly or cart. Fade out and back in when changing directions to allow the participant to refocus and orient themselves.
Tip #3
Shoot 180 video. The Field of View (FOV) on the most popular VR headsets is only about 90 degrees. Oftentimes, a participant gets nearly the same sense of immersion with a 180-degree video as they would with a full 360 yet the issues around size and resolution are effectively cut in half.
Tip #4
Shoot a still 360 image and add 3D sound to provide depth. Since a still is essentially just a single frame, one can use an extremely high resolution 360 image at a fraction of the size. Putting a person inside a 360 still and giving them 5-10 seconds to look around still gives them a sense of place. Transitioning between 10 images in 60 seconds can still provide the experience of movement much like a virtual tour, with only 10 frames versus 1800 frames if, for example, the video is shot at 30 Frames Per Second (FPS).
Tip #5
Load Videos Directly on The Headsets. For high-quality 360 videos, make sure you have a plan to distribute the content. Pushing out over WiFi is the most challenging option so determine the best way to either pre-load content prior to the participant receiving the headset or possibly consider headsets that allow external SD Cards that can be sent and inserted into the headset. If this is not possible, a robust content delivery network (CDN) will be necessary.
 360 Video in Virtual Reality – Recap
360 video can be an effective way to provide viewers with an immersive sense of place. However, it is critical to approach this medium carefully. Carefully consider limitations related to interaction, size, and clarity when designing your experience. By following the guidance and tips listed above, even the challenge of incorporating 360 video in a VR headset can be successfully accomplished. To best evaluate whether 360 video is the right choice for your project, speak with someone who can not only provide expertise in this area but also share alternatives to consider for the best overall experience.
Recommended for You
Check out related insights from the team
Get empowered, subscribe today
Receive industry insights, tips, and advice from Saritasa.